The Scrivener Binder Part Two
Let’s Look at Binder Keyboard/Toolbar/Mouse/Menu Navigation
Note you can select a single or multiple files or folders to move at once using toolbar icons or keyboard commands. (I will use files and documents as equivalent terms.)
1. Using Toolbar Arrow Icons
You can move files/folders up/down in the Binder at the same level, or move right/left to change the level of the hierarchy. (You can add one arrow or all four to your main toolbar.) Add these toolbar icons by using the Menu command View > Customize Toolbars.

2. Using the Keyboard Commands
Holding the Ctrl key and using the Arrow keyboard keys will accomplish the same results as above. The Ctrl + ↑, Ctrl + ↓, Ctrl + ←, Ctrl + → keys can be used to move an item(s) around spatially in the binder, step by step. Up and down will increase or decrease its placement in the outline, while left and right will promote and demote the item in the Binder hierarchy.
3. Using the Mouse to drag and drop Binder items. (and Holding the Alt key)
Holding the Alt key while dragging a single file or multiple files you have selected will prevent the file(s) being placed inside another file (without subdocuments). A dragged document can only be placed inside a folder, or between files while holding the Alt key. The line showing a file’s position in the Binder is thicker than usual using this technique.
You can change how holding the Alt key works by using the Menu command File > Options > Behaviors.
If you enable the option shown below, then holding the Alt key while dragging and dropping duplicates a file/files when moving them to a new location leaving the originals untouched and unmoved.
You must choose which use of the Alt key is more beneficial to how you work in Scrivener. Dragging files without dragging into another file in the Binder, or dragging a file(s) while holding the Alt key to create a duplicate(s).

Note: The mouse alone can drag one or more documents into any document in the Binder. (Remember the limitations with media files being restricted to the Research folder.)
You can use the shift key to select multiple files between the first file and where you next click the mouse. Or you can hold the Ctrl key to select multiple consecutive or non-consecutive files to move. Holding the Ctrl key allows adding files/folders one at a time to a growing list of selected files in the Binder. If you click a previously selected file in the Binder while still holding the Ctrl key, this will unselect the file/folder.
4. Using the Mouse and Editor header icon.
You can use the mouse to click on the Icon in the left side of the Editor header bar and drag this file to a different location in the Binder. (As above, holding the Alt key prevents the item being placed inside a file but not a folder or file with subdocuments.)
5. Using Menu commands to move files or folders.
A.) Use the Menu commands Edit > Move > direction commands mimic the Keyboard and Toolbar arrow icons.

B.) Using the Menu command Documents > Move To command can add a file/folder to any other file or folder in your project no matter how far apart they are in the Binder. Another file/folder can be moved to same location as the first move, by using the Move To "x" again where "x" represents the previous Move To location.
C.) Using the Menu command Documents > Copy To command can copy a file/folder to any other document in your project. Or you can Copy to Project and move a file to another Project this way and go thru the Binder tree to reach any document in any project that is currently open.

The added bonus is the Move To option (but not Copy To) is also available on the Right click menu options for any Binder items.
A double bonus is that once you use the Move to (via the Menu or right click options) command when you right click you will see the same move to option location near the top of the Move To options again so multiple files can quickly be moved to a specific document using this method.
The Editor and Binder Navigation
A. Clicking any Binder item opens it in the Editor’s current window.
****If you hold the Alt key before clicking this document, then this will open the file you click on in the Other Editor when in split view or create a split view with the file in the other Editor window.
B. Expanding or Collapsing the Binder
Once you have selected a document in the Binder, then you can use the Keyboard shortcuts Alt key + [ to close all Binder files, or Alt key + ] to fully expand the Binder when you have selected a Binder Document.
You can also use toolbar icons (if added) to expand or collapse the Binder (or Outliner as well)

Expands the Binder (see above) and Collapse the Binder (see below)

Header Bar
1. History- clicking the < and > carets (upper left corner of the Header bar) will move the Editor backwards or forward in the viewing history of the files/folders in the Binder and NOT in the physical file order (Much like a web browser).
If you click a caret and hold the mouse button down, then you will see the full history listing.

(Note: You can navigate a copyholder history with the Keyboard history shortcuts- Alt + { (backward) or Alt + } (forward) but must be in a split view and browsing history is done in the opposing split window. You must hold the shift key before using the Alt + { or } commands as those symbols are upper case.
The Editor Icon
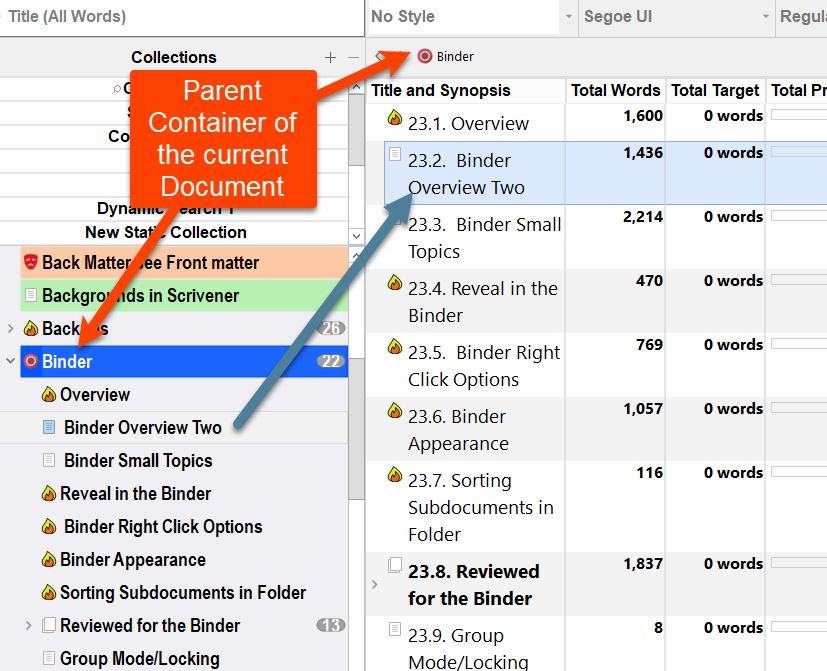
Hovering over the Editor file/folder Icon will display its path in the Binder all the way to the root folder of the project. (In this project, the Review Manual is the root folder.)

1. Dragging a Binder file or folder into Editor header by Icon will open the file/folder in the Current Editor window.
2. Doing above while holding the Alt key opens the file/folder in the Copyholder view.
The Menu Command Navigate > Go To can move you around the Binder.

Go To > (Options Explained)
Previous Document will jump to the previous item in the Binder list. In the whole Binder View this will ignore hierarchy.
Next Document will jump to the next document in the Binder list.
Enclosing Group will display the current item in context with its siblings. Ie will show the Parent folder and siblings associated with the current Document. If you shift your current Group Mode, you will see the active file highlighted in any of the Group Modes (see below)

Selection will jump the active Editor directly to the text/content file/folder you select. If you are in Scrivenings mode, this will isolate the selected document from Scrivenings document so you can edit this file.
Scrivenings and Binder Navigation

Clicking B will show a tree view showing all the files and folders (or documents with subdocuments) in the current Scrivenings view. Folders will have a caret (>) to their right to navigate to their subdocuments. This allows you to choose any Binder file/folder in the current Scrivenings view to quickly navigate between documents.
1. Dragging a file/folder onto the Editor Header Icon will open the file in the Current Editor window depending on Binder Selection Affects.
2. Doing the above but holding the Alt key while dragging onto the header opens the file in the Copyholder view.
3. Holding the Alt key causes items clicked on in the Binder, Quick Search list, and Bookmarks to open in the other Editor in a split view or create the split view if currently only have a single window view.
Binder Selection Affects
Using the Menu command Binder Selection Affects offers multiple choices to control what happens when you click on a file/folder in the Binder.

What these options mean:
The Other Editor is whichever pane is not currently active/targeted.
The First Editor equals the bottom or right editor window depending on the split orientation.
The Second Editor equals the top or left editor window depending on the split orientation. If you Select the Second editor, then the Left Editor window (in the vertical view) will be the active window and underlined in blue in the header bar and clicking on the Binder will open an item in this view.
Both Editors will open the same file/group of files in both panes. Most helpful if use two different Group views to look at both panes. (ex Scrivenings view and the Outliner.)
If you choose None, then clicking on a Binder document will have no effect on the Editor.
Open Non-group items in the Other (Editor) will open a single file(s)/folder(s) in the non active window. (You can load groups of items into this window by clicking on a Bookmark for a group of items.)
The Active and Target Editor in Split views
— Targeting: the split that is targeted will have a blue background and blue underline (see below). (Depending on the Scrivener theme, this appearance may vary. Any Binder document you click on will load within this split window.

— Active: This is the split view pane you are currently working in/last clicked in, or where you have clicked into the editor last. The active split is indicated by an underscore along the bottom of the header bar.

— By Default, the Targeted and Active Editor window in the split view are one and the same.
How to send Files/Folders to the Trash Folder
1. Select a file(s) and you will now see the Trash Main toolbar icon highlighted. (If added.) If you now click this, then the selected item(s) goes immediately to the Trash folder.
2. Right click on the selected file(s) and see the option at the top of the menu to Move to Trash.
3. Select files/folders with the mouse and drag these into the trash folder.
4. Use the Menu command Documents > Move to > then select the Trash folder (which is at the bottom of the available choices).
Windows Tip- rather than deleting discarded scenes, keep them in a scrap folder. File sizes are small. This forces you to take three steps to delete any discarded scenes. (You may change your mind while editing the novel, or the scene might be useful if you write more books in a series.)
Step One- Move the discarded scenes from the Scraps folder into the Trash folder.
Step Two- Now right click on the Trash folder and choose to empty the Trash Folder.
Step Three- You must click delete on the warning message that appears before a document(s) will be permanently deleted.
Sorting the Binder
If you highlight a folder, then you can arrange the files within it by alphabetical order.
1. Highlight a folder to rearrange Files inside alphabetically.
2. Use the Menu command Edit > Sort and choose Ascending or Descending. (This action is NOT Reversible)

Note this effects all Files and Folders at the same level inside the chosen folder. If a folder is included, this changing alphabetical order will NOT change the arrangement of files within that included folder.
3. You will then see a warning message before changing the order as this cannot be undone.

Navigation Rules-
If you have multiple files selected, then multiple files can be moved at once.
Any document(s) chosen in the Binder to display in the Editor will be highlighted even if you move the Binder item while in the Editor. Your original file will still be highlighted. The item you are editing in the Editor will have a more pronounced highlight then items you may be viewing as you shift your focus. Once you edit the Document, then its level of emphasis will increase.
Holding the Alt (option on Mac) key and clicking on the small triangle to the left of the folder will open the folder and expand every sub-document within it. This makes an easy way to see all of a folder’s contents at once even if there are several layers.